
Quick start
This page takes you from a new account to your first invoice. It takes about ten minutes.
Simple Invoicing runs in your browser on a laptop or phone, with nothing to install. These steps use the hosted version at app.simpleinvoicings.com. If you run your own copy, start at step 2.
1. Create your account
- Open the sign-up page.
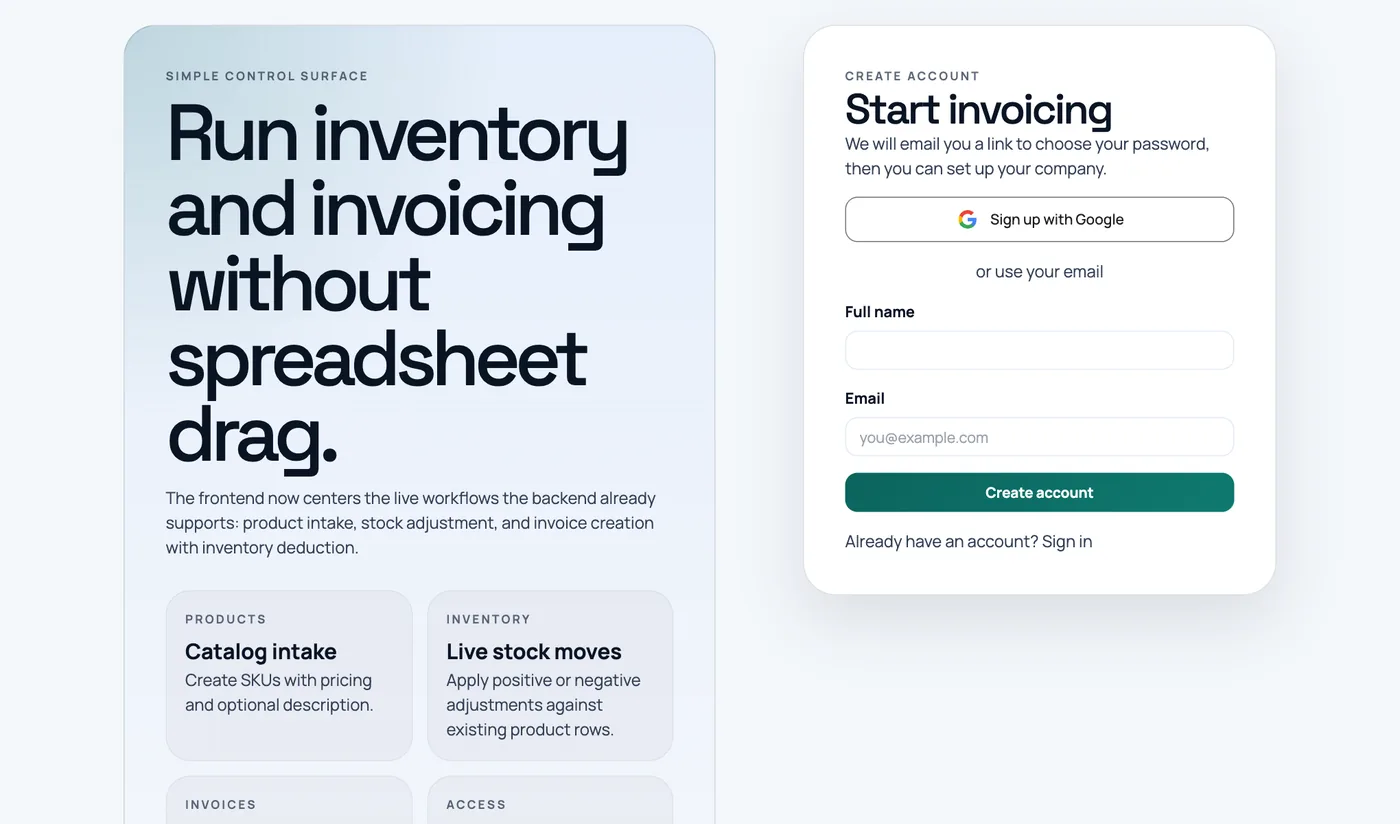
- Enter your Full name and Email, then click Create account. Or click Sign up with Google and skip to step 2.
- Open the link we email you. It is valid for 24 hours.
- Enter Your name and a Password of at least 8 characters, then click Confirm email and set password.
- Sign in.
If no email arrives, check your spam folder. The Resend verification email button sends another link.
2. Set up your company
The first time you sign in, the app asks for your company details. Enter at least the Company name and Address. Add your GST number if you have one, and:
Change the currency to INR
Currency starts on USD. Choose INR - Indian Rupee before you save.
Click Save company details. You can then adjust how invoices are numbered, or choose Skip for now. Company setup covers every option, including your logo, bank details and terms.
3. Add a customer
- Click Ledgers in the sidebar, then Create ledger.
- Enter the Ledger name, Phone number and Address, and the customer's GST number if they have one.
- Click Create ledger.
The GSTIN decides how tax is split, so enter it carefully. See Ledgers.
4. Add a product
- Go to Catalogue → Products & Stock and click New product.
- Enter the SKU, Product name, Selling price, GST rate (%) and HSN / SAC.
- Enter the Opening quantity. For a service, untick Maintain stock for this product.
- Click Create product.
See Products and stock.
5. Create your first invoice
- Go to Sales → Invoices.
- Check that Voucher type says Sales, then choose your customer under Ledger. The place of supply fills in from their GSTIN.
- Choose your product on the first line and enter the quantity. GST is worked out as you go.
- Click Create invoice.
Stock falls and the amount appears on the customer's ledger straight away. See Invoices.
6. Send it and get paid
From the invoice preview, download the PDF, email it, or share a link on WhatsApp. See Send and share.
When the money arrives, record it from the customer's ledger with Record Receipt / Payment. See Cash and bank.
What to read next
- Finding your way around: the sidebar, the company switcher and keyboard shortcuts.
- GSTR-1 filing: export your return at month-end.
- Connect an AI assistant: ask Claude or ChatGPT about your books.